Live Sketchup Training
Issue Analysis: Most Herman Miller dealerships use Z-Axis for all rendering work, but there are many other software programs that are significantly easier to use and produce much higher quality results.
Learning Objectives: Teach designers how to use Sketchup to produce high quality renderings of furniture designs. Address learners with varying levels of software expertise, and design subsequent trainings to expand on knowledge gained and explore more advanced features.
Audience: Commercial furniture dealership designers
Content: Live demos conducted both in an in-person classroom setting and remotely via video-conferencing software. Practice exercise document provided to evaluate knowledge retension after the training is over.
Tools Used: Sketchup, SU Podium, Adobe Indesign
Training Overview
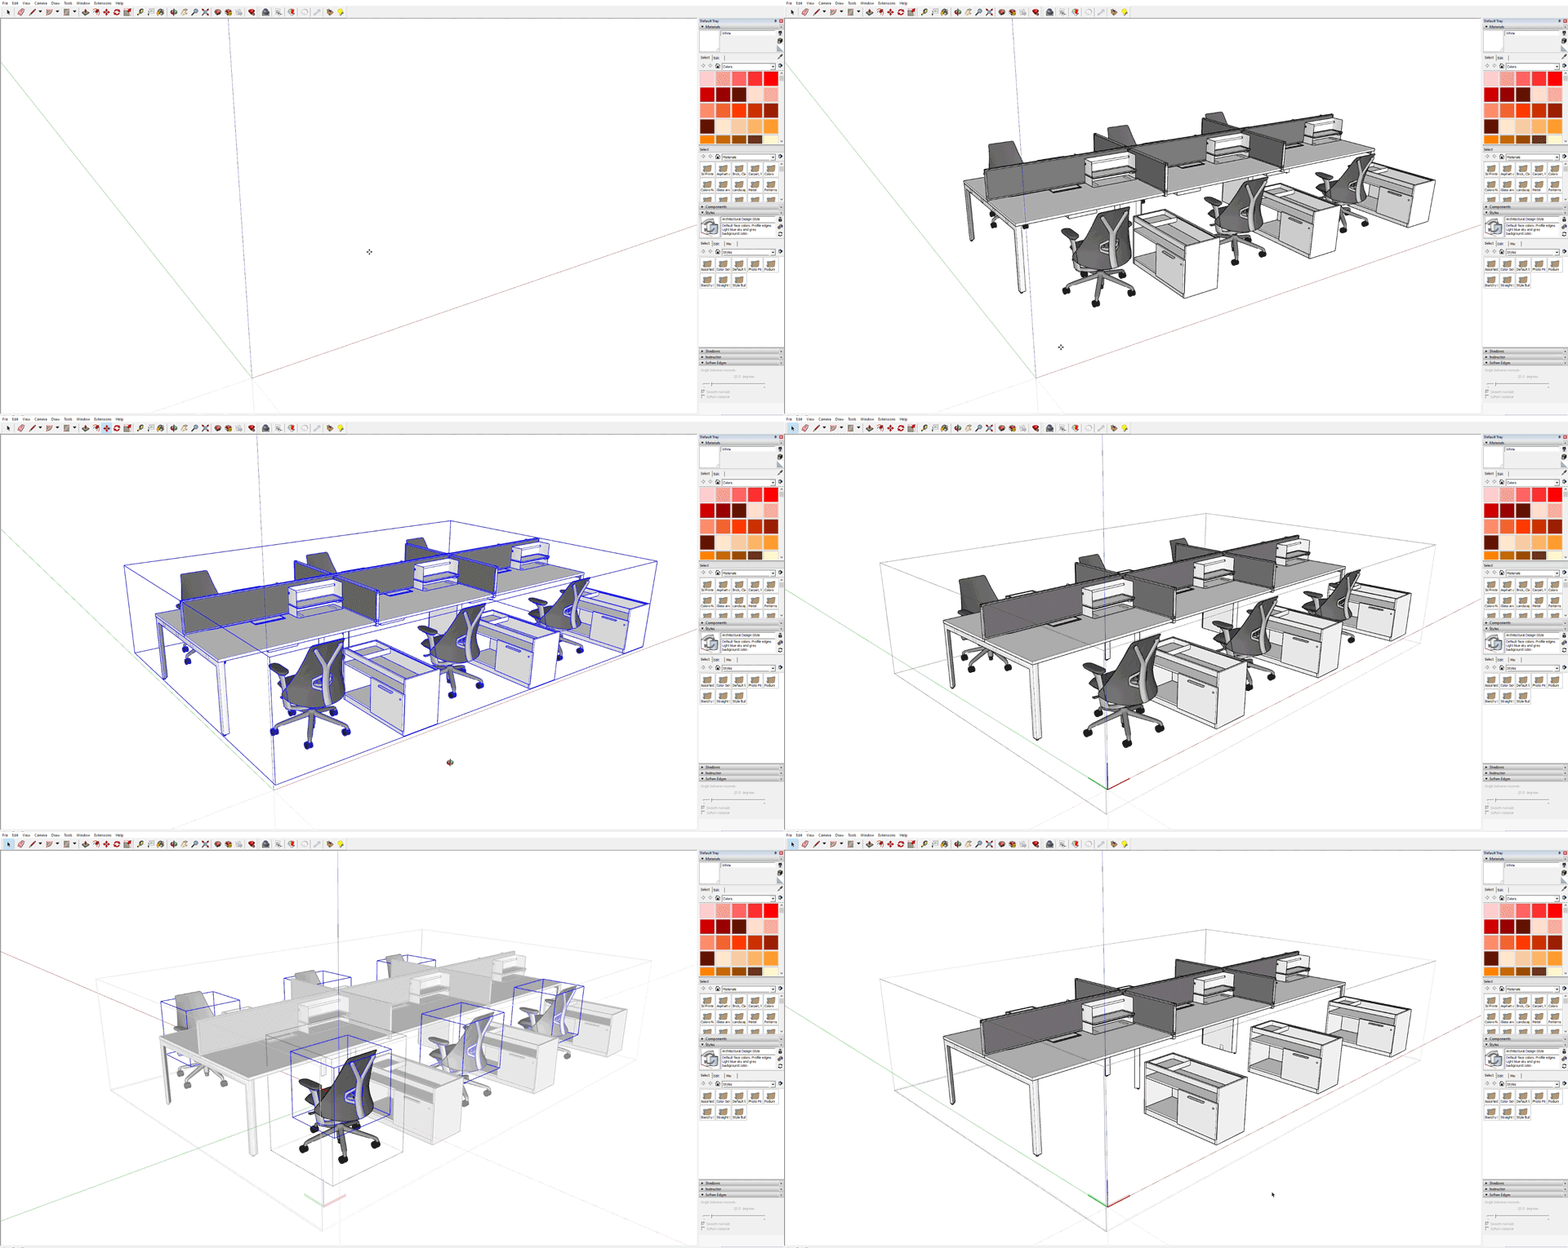
Importing & Editing Models
The training begins with an explanation of how to import furniture models into sketchup. Many individual furniture pieces can be found in Sketchup’s 3D warehouse, but designers can also bring in unique furniture system models that they have designed in other software programs such as AutoCAD and CET Designer.
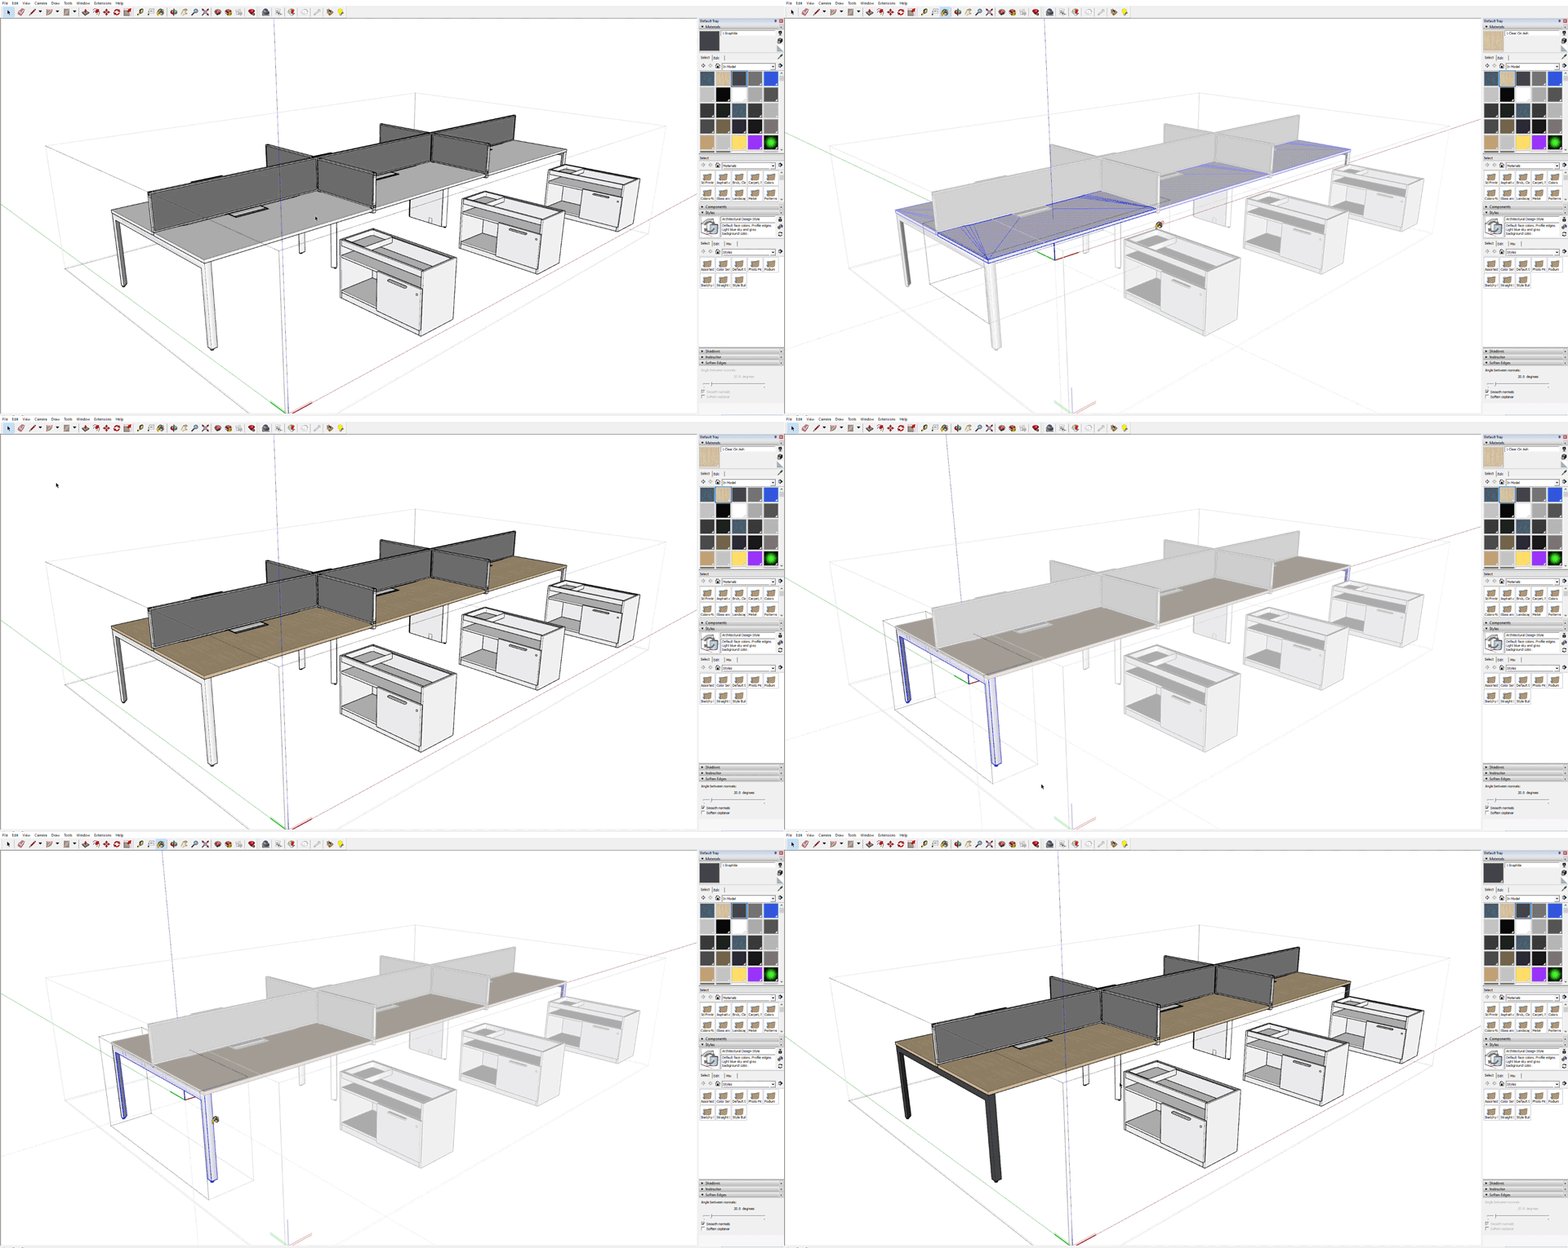
Applying Finishes
Once the models have been imported, learners are then guided through different ways to apply finishes. This section of the training touches on the basics for those who don’t have much experience with the program, and then explores efficiency strategies and shortcuts for more advanced learners.
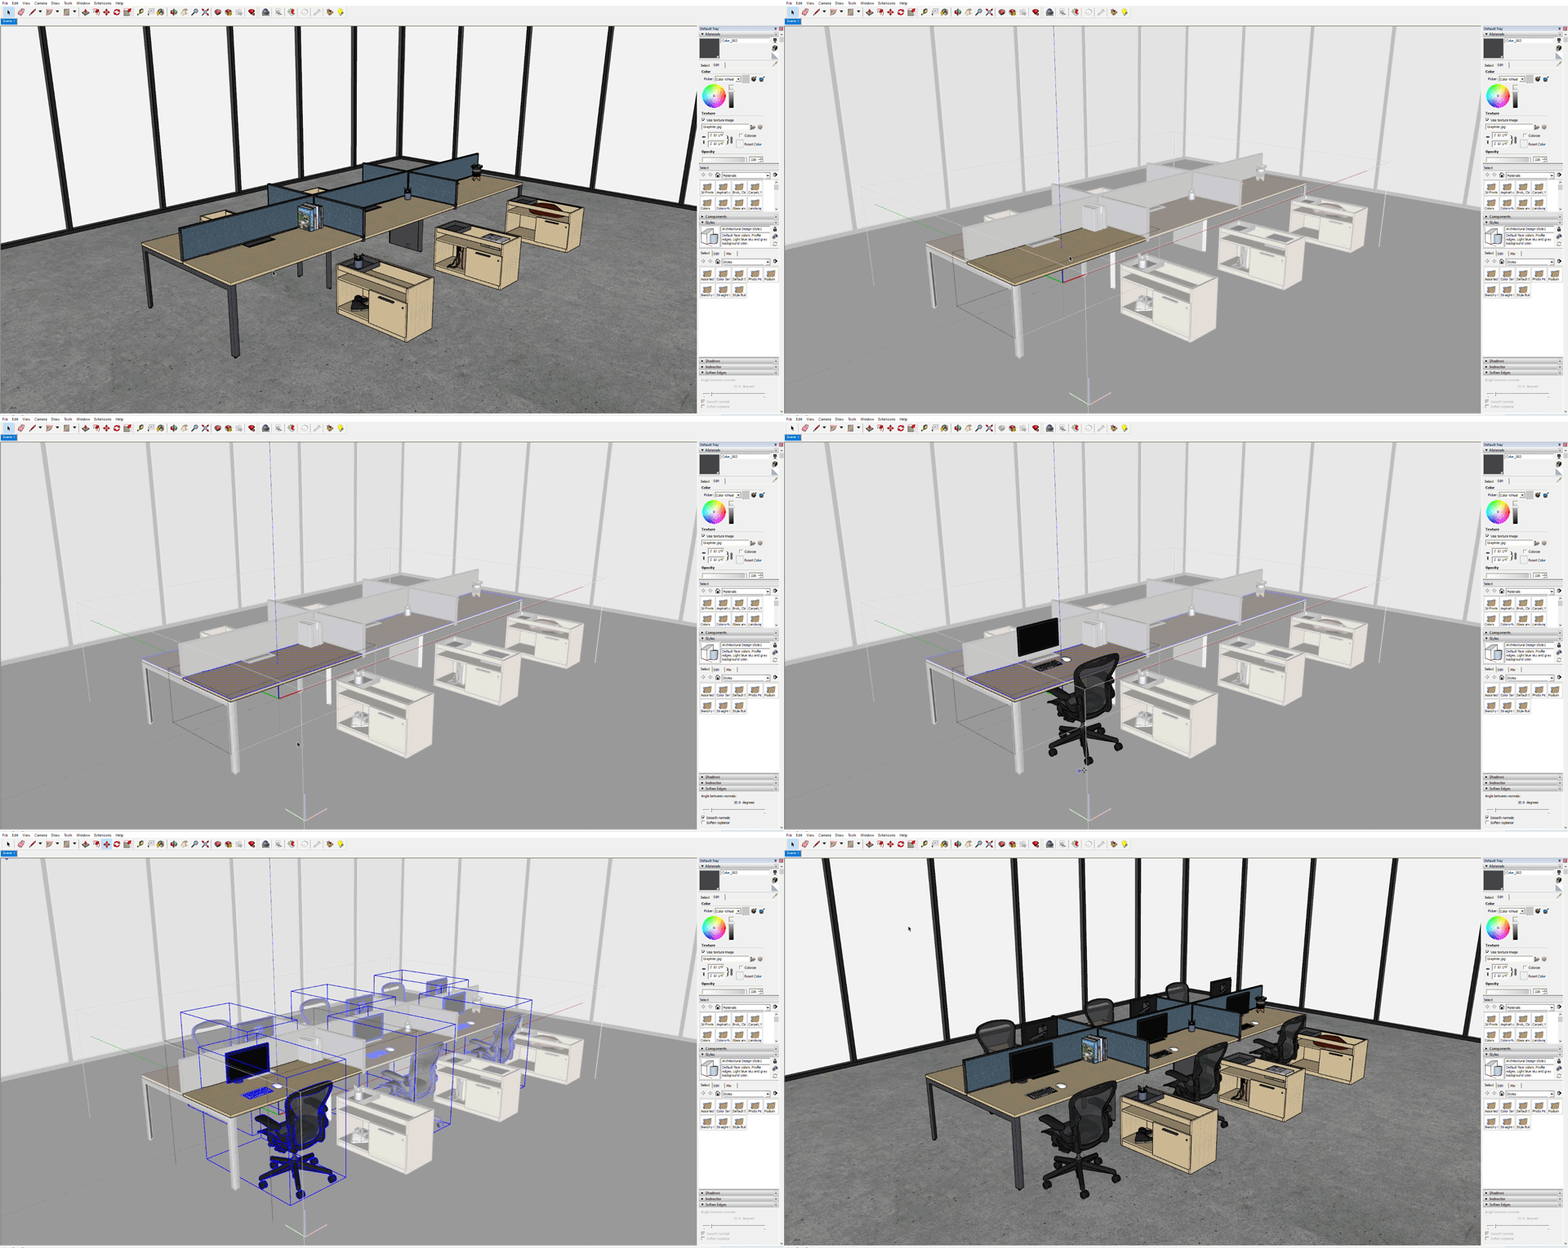
Stylizing
After applying the finishes, the next step is to make the models look more personal and realistic. Adding things like work tools, decor pieces, and architectural surroundings can showcase important design and functionality features while also helping clients visualize themselves using the furniture.
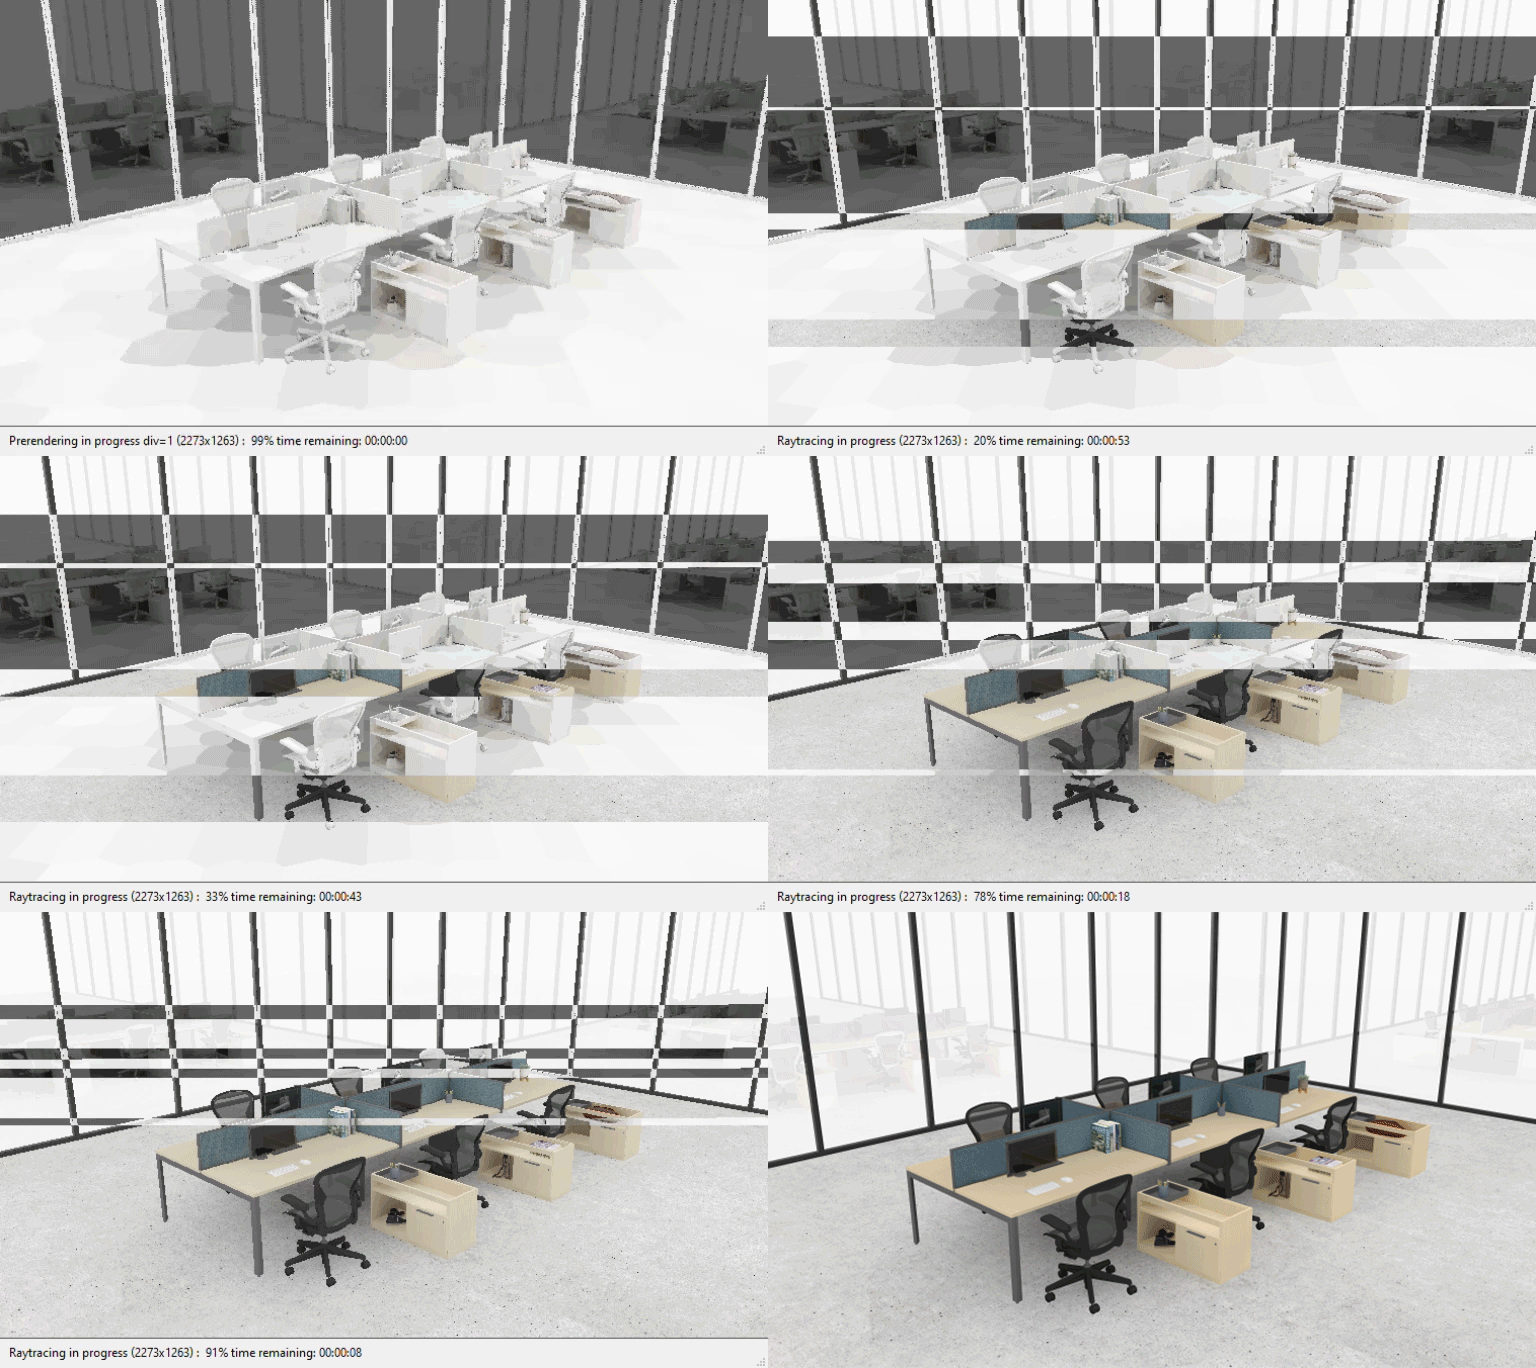
Rendering
Finally, learners are guided through the process of generating renderings of the model. This portion of the training includes tips like finding the best view angles and a detailed exploration of lighting settings for photo realistic renderings.


